

Electrophoresis · Part 2
From Ladder Selection to Gel Imaging
A practical guide to preparation, loading, staining and equipment checks that improve the interpretability and reproducibility of an agarose gel.
Most avoidable failures come from mismatched ladders, poorly prepared gels, inconsistent loading, unsuitable staining conditions or equipment setup—not from electrophoresis itself.
Part 1 covered gel concentration, agarose grade, running buffer and field strength. This second guide focuses on the practical steps that determine whether a technically successful run produces interpretable bands.
5. Choose a ladder that answers your question
A DNA ladder is more than a visual reference. Its fragment-size distribution should bracket the range you expect to resolve. If approximate DNA mass matters, use a ladder with bands whose mass is specified by the manufacturer and load it within the recommended range.
Run a ladder on every gel used for interpretation. A ladder that has degraded, been repeatedly freeze-thawed or been overloaded can create misleading reference bands.
6. Cast the gel on a level surface
Uneven gel thickness changes migration distance and can produce slanted bands or distorted wells. Place the casting tray on a level surface, position the comb correctly and pour slowly enough to minimise bubbles. Remove bubbles near the wells before the gel sets.
Allow the gel to solidify completely before moving it into the running chamber. A partially set gel is mechanically weak and more likely to deform during handling.
7. Dissolve agarose completely—and avoid changing the final concentration
Heat the agarose-buffer mixture until the solution is clear and no visible particles remain. When microwaving, use short heating intervals and swirl carefully between them. Overboiling can evaporate water and unintentionally increase both agarose percentage and ionic concentration.
If significant evaporation occurs, do not assume the original concentration is still correct. For reproducible work, prepare a fresh gel or restore the final volume appropriately before casting.
8. Measure agarose and buffer accurately
The gel percentage is a mass-to-volume relationship. The previous version of this article described “too much buffer” and “too little buffer” as separate structural problems; more precisely, inaccurate agarose mass, inaccurate final buffer volume or evaporation changes the final agarose concentration and gel properties.
Use the correct working-strength electrophoresis buffer, measure the final volume accurately and keep preparation consistent between runs.
9. Check the electrophoresis system before blaming the sample
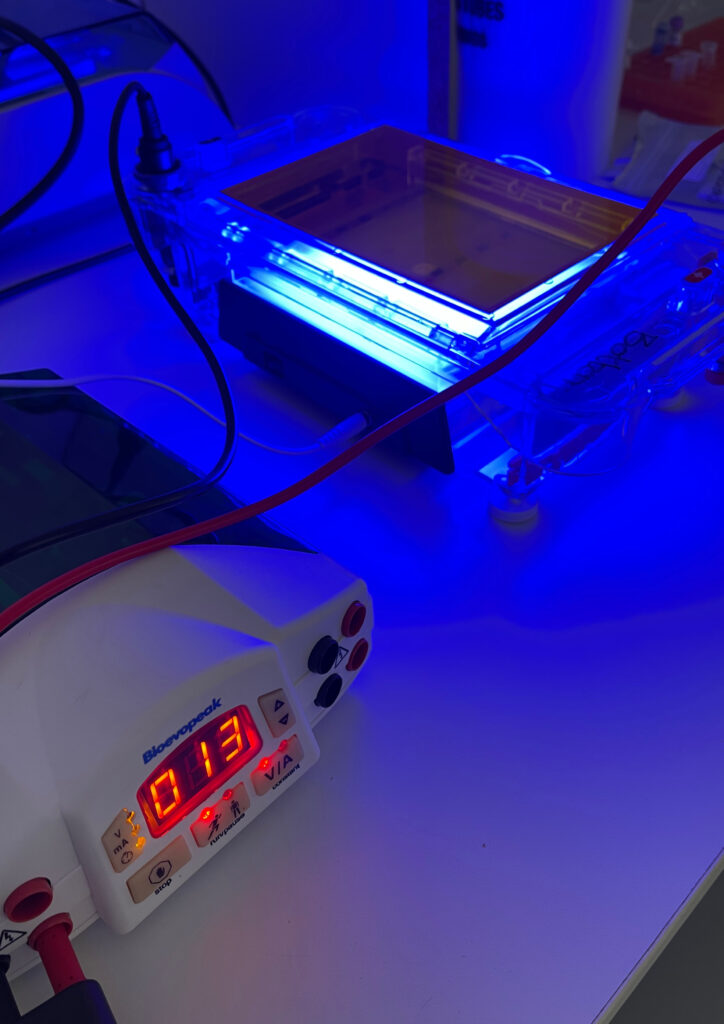
For routine DNA and RNA agarose gels, horizontal electrophoresis systems are standard. Inspect the chamber, leads and power supply, confirm the gel orientation and make sure the gel is covered by an appropriate depth of running buffer.
Excessive buffer depth can increase current and heating; insufficient buffer can expose the gel or compromise conductivity. If runs suddenly become inconsistent, compare current draw and temperature with a known-good setup.
10. Load consistently and understand the tracking dyes
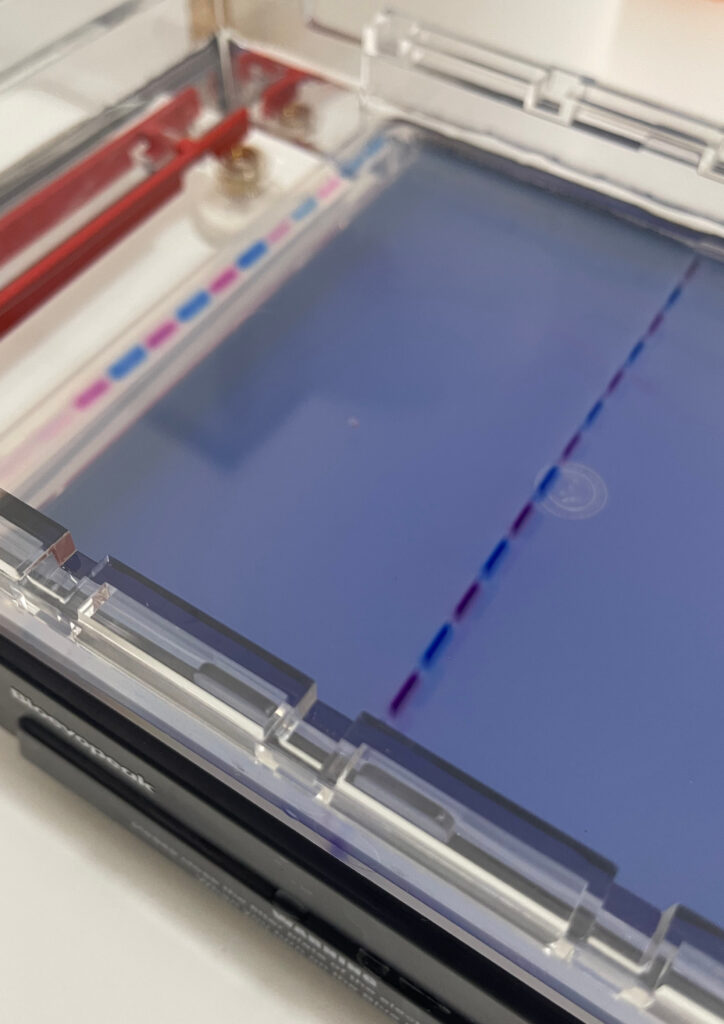
Loading buffer increases sample density so the sample settles into the well and includes tracking dyes that indicate migration progress. Load slowly and consistently, avoid puncturing the well, and do not overload with DNA simply to obtain brighter bands.
Different tracking dyes migrate at different apparent sizes depending on the gel and buffer system. Use them as migration indicators, not as fragment-size standards.
11. Select the stain and imaging method for the application
Nucleic-acid stains differ in sensitivity, excitation requirements, workflow and safety profile. Ethidium bromide remains effective but requires appropriate handling and disposal because of its mutagenic properties. Alternative fluorescent stains are widely available, but “safer” should not be assumed without reviewing the relevant safety data sheet.
If DNA will be recovered for cloning or another downstream application, minimise damaging UV exposure and use imaging conditions compatible with recovery. Follow the stain manufacturer’s guidance for whether the dye should be added before the run or used for post-staining.

When the bands do not look right
- Slanted lanes: check gel thickness, casting level, chamber placement and heating.
- Smearing: review loading amount, sample quality, field strength, buffer and nuclease contamination.
- Weak bands: check sample amount, stain compatibility, imaging settings and DNA loss or degradation.
- Unexpected ladder pattern: verify the ladder identity, storage and loading conditions before interpreting sample lanes.
References and further reading
Addgene, How to Run an Agarose Gel.
Follow the instructions for the specific agarose, ladder, stain, electrophoresis chamber and imaging system used in your laboratory.
Technical support
Need to clean up a PCR product or recover DNA from a gel?
Gene Vantage offers PCR and nucleic-acid clean-up products and can help match the workflow to your downstream application.